

TL;DR:
- Regular cleaning with warm water, lint-free cloths, and cotton swabs improves flavor and vapor quality.
- Do not use harsh cleaning agents or oils to avoid damage and residue.
- Coils should be replaced, not cleaned, when experiencing flavor or odor issues.
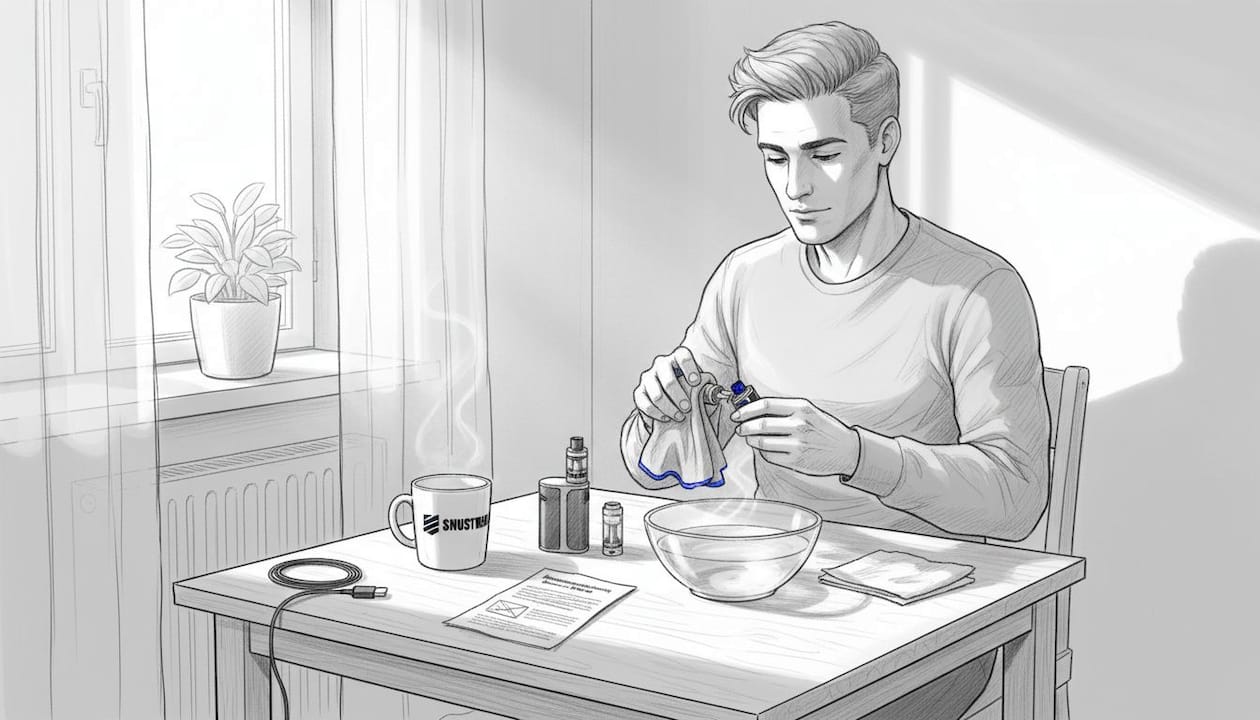
The flavor is becoming flatter, a slightly burnt smell emerges while vaping, and you wonder if your device is breaking or just needs a little maintenance. Anyone who vapes regularly knows this problem. Often, the cause is simple: residues from the liquid accumulate in the tank, on the mouthpiece, and in the connections, significantly worsening both flavor and vapor quality over time. This guide shows you step-by-step which materials you need, how to thoroughly clean your vape, which mistakes you should definitely avoid, and how to tell if your device is truly back in top form afterward.
Table of Contents
- Required materials and tools for vape cleaning
- Step-by-step guide: How to clean your vape properly
- Avoiding typical mistakes and problems during vape cleaning
- How to tell if the vape is clean again: Checks and maintenance
- Why simple routines are more important than special cleaners
- Everything for enthusiasts: Find suitable vape and snus products at Snustrend
- Frequently asked questions about vape cleaning
Key Takeaways
| Point | Details |
|---|---|
| Regular cleaning | Only a clean tank and mouthpiece guarantee an optimal vaping experience. |
| Do not clean coils | Replace the atomizer head if the flavor is poor rather than trying to clean it. |
| Simple agents suffice | Warm water and a lint-free cloth are enough for most cleaning tasks. |
| Observe safety rules | The battery must never come into contact with water to avoid damage. |
Required materials and tools for vape cleaning
Before you start cleaning, it is important to have the right materials at hand. If you start unprepared, you might quickly grab the wrong tools, such as household cleaners or perfumed wipes, risking residues or even damage to the device. Good preparation is half the cleaning process.
What you definitely need
- Warm water: The most reliable and affordable basic cleaner for the tank and mouthpiece
- Lint-free cloths: Normal kitchen paper towels can leave lint; special microfiber cloths are ideal
- Cotton swabs: Indispensable for tight corners, threads, and hard-to-reach areas
- Small bowl or container: Practical for soaking tank parts in warm water
- Isopropyl alcohol (70%): Optional, but very effective for stubborn residues on metal or glass parts. Not suitable for rubber seals
- Toothpick or small cleaning brush: For threads and connection points
Optional special accessories
Special cleaning kits for vapers are available in specialized stores. These often contain small brushes of various sizes, special cleaning pads, and even ultrasonic cleaners for glass components. However, for most users, this is simply unnecessary. Warm water and cotton swabs get 90 percent of the work done just as effectively.
Pro Tip: Avoid scented or harsh cleaners like dish soap, disinfectant sprays, or household vinegar entirely. These leave behind residues that will get into the vapor during your next session, distorting your flavor or even attacking rubber and plastic components.
As a safe practice, the general rule is: only use materials that you are certain will not leave residues or cause reactions with liquid remnants.
According to established cleaning practices, the rule is: tank and mouthpiece should be rinsed with warm water, dried with a lint-free cloth, and left to dry completely before the device is reassembled. This basic routine sounds simple, but is surprisingly often skipped or shortened.
Overview: Materials and their use
| Material | Purpose | Note |
|---|---|---|
| Warm water | Tank, mouthpiece, glass parts | No boiling water |
| Lint-free cloth | Drying all components | Microfiber preferred |
| Cotton swabs | Threads, corners, connections | Press gently, do not dig |
| Isopropyl alcohol 70% | Stubborn metal residues | Not for seals |
| Small brush | Cleaning brush for connections | Optional but practical |
| Small bowl | Soaking tank parts | Plastic or glass |
How often should you clean?
Step-by-step guide: How to clean your vape properly
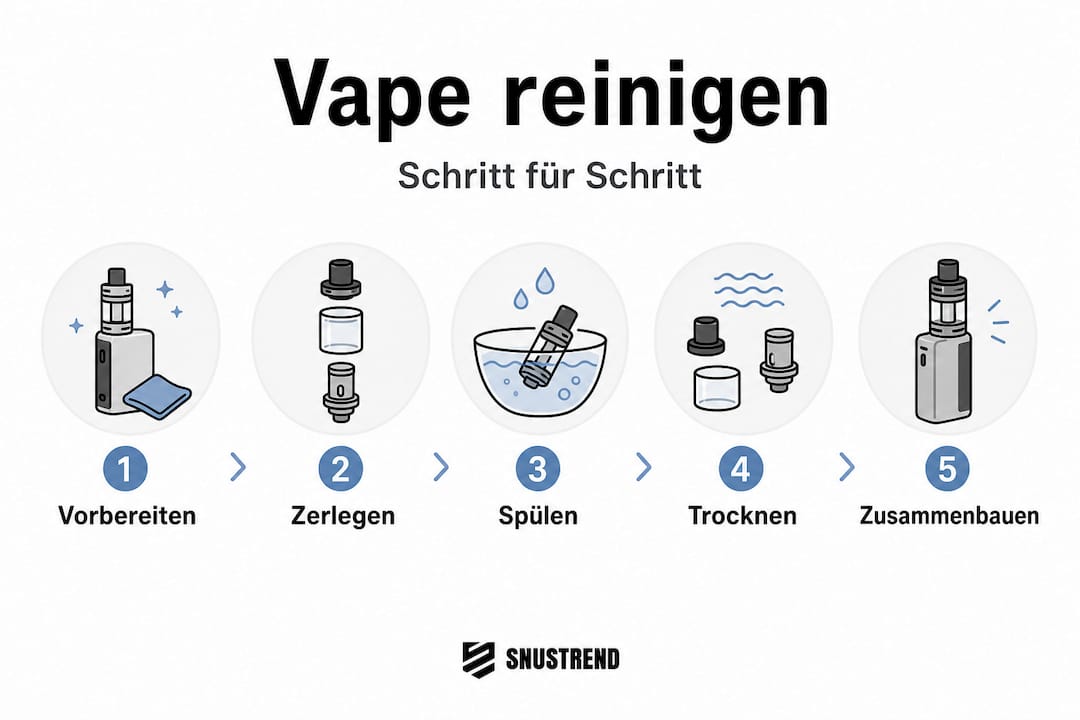
Now that all materials are ready, it is time for the actual cleaning. The right order is crucial, because reassembling parts while still damp or reinserting the battery too early risks not only bad flavor but also device malfunctions.
Overview of the most important components
Before you begin, you should know the most important vape terminology: tank (the container for the liquid), mouthpiece (drip tip), atomizer head (coil), battery mod (the device base with the battery), and sealing rings (O-rings).
Complete cleaning step-by-step
-
Turn off the device completely and disconnect the battery. Before you touch anything, turn off your vape. If possible, separate the mod from the tank. The battery must never come into contact with water under any circumstances. Moisture damage to the battery is irreparable and can be dangerous.
-
Empty the liquid from the tank. Carefully pour the remaining liquid into a small bowl or jar if you intend to reuse it. Then let the tank drain as completely as possible.
-
Disassemble the tank. Unscrew the mouthpiece, remove the atomizer head (coil), and detach the individual tank parts. Place all parts neatly next to each other on a clean cloth so that nothing goes missing during reassembly.
-
Set the coil aside, do not wash. This is a common mistake: the atomizer head does not belong in water during a normal cleaning process. Just check it visually. If it is dark, smells strongly burnt, or the flavor has become noticeably worse, it must be replaced, not cleaned.
-
Rinse tank, mouthpiece, and glass parts with warm water. Hold all parts individually under running warm water and wipe them with a lint-free cloth. For stubborn residues, you can soak the parts in warm water for ten to fifteen minutes.
-
Clean threads and connections with cotton swabs. Residues accumulate exactly where the parts are screwed together. A slightly moistened cotton swab is perfect for reaching these areas. Turn it gently in the opening until no more residue is visible.
-
Dry all parts thoroughly. Wipe each part individually with the microfiber cloth. Check inside the smallest openings as well.
-
Let dry completely for at least two to four hours. This is the step most people skip. Damp residues in the tank significantly affect the flavor during the first puff. Lay all parts out on a clean cloth in an airy place.
-
Wipe the battery mod dry. Wipe the exterior and the contact surface of the mod with a slightly damp, then dry cloth. Do not get water into the connection.
-
Reassemble and test. Screw all parts back together in reverse order. Fill the liquid, let it soak for two minutes, and then take a short test puff.
Cleaning intervals at a glance
| Component | Recommended interval | Method |
|---|---|---|
| Mouthpiece | Every 2 to 3 days | Rinse warm, wipe dry |
| Tank | Every 2 to 3 days, complete cleaning 1x per week | Warm water, soak |
| Coil / Atomizer head | In case of burnt taste or fading flavor | Replace, do not wash |
| Battery mod (exterior) | 1x per week | Dry cloth |
| Sealing rings | Check during every complete cleaning | Inspect for damage |
Important safety note: The battery (mod) must never come into contact with water. Even a slightly damp cloth on the connection can cause short circuits. Always clean the battery mod dry, or with a minimally damp cloth on the casing, not on plugs or contacts.
Avoiding typical mistakes and problems during vape cleaning
Even with good intentions, mistakes happen during cleaning. Some are noticed immediately, others only during the next session when the flavor is strange or the device no longer draws correctly. Here are the most common stumbling blocks and how to avoid them.
Aggressive cleaners and oils are off-limits
Many people reach for what is in the bathroom or kitchen: all-purpose cleaners, bathroom cleaners, perfumed disinfectants. That is a mistake. These products leave behind chemical residues that settle into plastic and rubber and are inhaled along with the vapor. The same applies to oils of any kind: oil and liquid do not mix, and greasy residues can irreparably clog the coil.
- No dish soap (leaves soap residues)
- No vinegar (can attack seals and smells for a long time after cleaning)
- No disinfectant sprays with alcohol content over 80% for plastic parts
- No oils, greases, or care products for rubber
Short drying time as an underestimated problem
Reassembling the device quickly to keep vaping might be tempting, but almost always leads to problems. Damp spots in the tank dilute the fresh liquid, alter the flavor, and can promote corrosion in certain components. Truly plan for at least two hours. If you need it done quickly, use a small fan or a gentle airflow to speed up the drying process.
Coils: When to replace, when to clean?
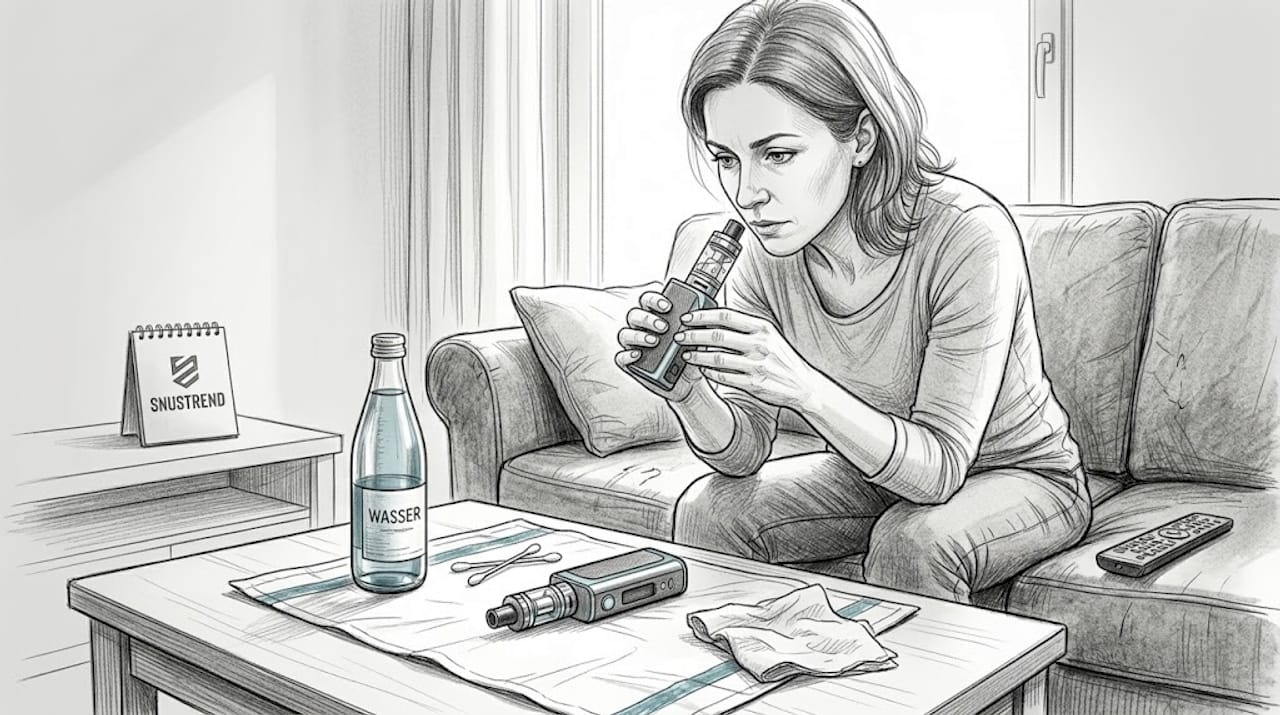
This is where there is the most confusion among beginners. The clear answer: Coils are not cleaned; they are replaced when the flavor fades or a burnt smell appears. A coil that has been burnt once will give off that taste permanently, no matter how thoroughly you wash or dry it. The organic material of the cotton wick stores residues permanently. A new coil is inexpensive and makes an immediate difference.
Pro Tip: Always keep one or two spare coils in stock. That way, the replacement is not an interruption of your vaping, but a quick maneuver. As a rule of thumb: with average use, a coil lasts one to three weeks; with intensive vaping or sweet liquids (which contain sugar), it lasts shorter.
Frequent assembly mistakes
- Inserting O-rings incorrectly or forgetting them: This leads to leaks and liquid spillage
- Screwing parts on too tightly: Plastic threads break easily. Finger-tight is always enough
- Not seating the coil properly: A crookedly screwed-in coil draws unevenly and burns faster
- Filling the tank while still damp: Liquid dilutes the fresh liquid and changes the flavor immediately
Anyone who wants to vape environmentally consciously benefits twice from a good cleaning routine: devices that are maintained regularly need to be discarded less often, which reduces e-waste.
How to tell if the vape is clean again: Checks and maintenance
Cleaning is one thing. But how do you know the cleaning was truly successful? There are clear signs that show you if your vape is back in top form, and a simple control plan to keep it that way.
Signs of a cleanly cleaned vape
- Clean, clear flavor: The first puff after cleaning should taste pure, without residual flavor from the previous liquid or burnt notes
- No gurgling noise: Gurgling sounds while drawing indicate liquid in the airflow, i.e., residues or a damp spot that was not sufficiently dried
- Consistent vapor: If the vapor is dense and consistent again, without dry or weak puffs, the connection between coil and tank is optimal
- No unpleasant odor: Hold the device to your nose briefly after drying. No smell means: everything is clean
Identifying stubborn residues
Sometimes a simple rinse is not enough. Dark deposits on the inner walls of the tank, a slightly sticky feeling on thread areas, or slight discoloration of the cotton swab when wiping are signs of stubborn residues. In these cases, a short soak of the affected metal parts in isopropyl alcohol for five to ten minutes, followed by a thorough rinse with warm water, helps.
Note: According to recommendations from experienced vapers, you should clean the tank and mouthpiece at least every two to three days for optimal enjoyment. If the flavor fades or a burnt tone emerges, the coil should be checked immediately and replaced if necessary.
Your personal cleaning schedule
A simple weekly plan helps you internalize the routine without much effort:
- Daily: Briefly wipe the mouthpiece (five seconds)
- Every 2 to 3 days: Rinse the tank and mouthpiece with warm water and dry
- Weekly: Complete cleaning of all components, check the coil, wipe down the battery carrier
- As needed: Replace the coil, check O-rings, treat stubborn residue with isopropyl alcohol
Regular maintenance extends the lifespan
This is not a marketing promise, but a physical reality: liquid residues that build up in the tank increase the resistance with every puff. This puts more strain on the coil, it burns out faster, and the entire device wears out more quickly. Those who clean consistently buy new coils and new tanks less often, and in extreme cases, they also buy a completely new device less frequently. For anyone wanting to try new variety in enjoyment, a clean device is a must anyway: only those who start neutral will truly taste a new liquid in an unadulterated way.
Why simple routines are more important than special cleaners
We have often seen in the vaping community how much energy goes into searching for the perfect cleaning product. Ultrasonic cleaners, special sprays from specialist shops, detailed soaking processes with various solvents. That sounds professional, but in practice, it leads to a problem: it is too time-consuming for everyday life, and therefore it is simply not done regularly.
The uncomfortable truth is: a short, consistent cleaning every two to three days achieves more than an extensive deep clean once a month. This is not because deep cleanings are bad. It is because residues build up daily and small, regular interventions prevent this buildup before it becomes a real problem.
We see it time and again: vapers who introduce a simple two-minute routine have a consistently better taste than those who sporadically invest a lot of time and money in elaborate cleanings. Warm water, a lint-free cloth, a cotton swab. That is all you need for 90 percent of everyday situations.
The second misconception is the belief that more chemicals mean more cleanliness. Often, the opposite is the case. Aggressive agents leave residues themselves, damage materials, and require multiple rinsings. Warm water dissolves liquid residues reliably because most liquid ingredients (propylene glycol and glycerin) are highly water-soluble. This makes complicated chemistry unnecessary in most cases.
What really counts is consistency. Integrate cleaning into your weekly rhythm, just like charging your device. Those who do this notice after a short time that their device not only tastes better but also lasts significantly longer.
Everything for connoisseurs: Find suitable vape and snus products at Snustrend
After all these tips on vape maintenance, you now know how to keep your device in top shape and truly enjoy every puff. A well-maintained device is the best prerequisite for experiencing new products and flavors in an unadulterated way.
At Snustrend, vapers and snus users in Switzerland can discover a wide selection of vapes, liquids, and accessories at attractive prices with fast shipping. Whether you are looking for new flavors or simply want to restock your supply, the range offers the right thing for every taste. For those who would like to try snuff products in addition to vaping, for example, there is the classic Schmalzler Südfrucht or the handy Schmalzler Südfrucht 25g version. Discover the entire range now and benefit from special offers and new products.
Frequently asked questions about vape cleaning
How often should you clean a vape?
The tank and mouthpiece should be rinsed every two to three days; a complete cleaning of all components is recommended about once a week.
Can you clean the atomizer head (coil)?
Coils should not be cleaned, but replaced as soon as the flavor drops off or a burnt smell occurs. Washing does not help here.
What cleaner should you use to clean vapes?
Warm water and lint-free cloths are sufficient for most cases. Rinsing the tank with warm water and drying it lint-free is the most proven basic method. Aggressive cleaning agents or oils are off-limits.
Why does my vape taste strange after cleaning?
Either the device has not fully dried yet, or there are still residues in the coil. Let the tank dry completely and check the coil, replacing it if necessary.
How long does a complete cleaning take?
The active cleaning process takes about ten minutes without drying time. You should allow at least two to four hours for complete drying before refilling and using the device again.
Recommendation
- Vaping Tips: Vaping safely and enjoying flavors – Snustrend - Snus, Vapes & Snuff
- Vape terminology explained: Overview, trends and practical knowledge – Snustrend - Snus, Vapes & Snuff
- Changing vape flavors: Step-by-step guide – Snustrend - Snus, Vapes & Snuff
- Sustainability with vapes: Tips for environmentally conscious vaping – Snustrend - Snus, Vapes & Snuff
Share:
What Is A Vape Pod? Design, Function And Advantages
Nicotine consumption among adolescents: risks clearly explained